Shopify product waitlists: How to add and manage them effectively
A customer discovers your product and adds it to their cart, but it’s out of stock. They think they’ll come back later, yet most never do.
The sale? Missed!
Fortunately, Shopify merchants can set up a product waitlist, allowing customers to register their interest right when they’re most engaged. In this article, we’ll walk you through the exact steps to build Shopify waitlists to keep your sales pipeline active and manage inventory better.
What is a waitlist and why does it matter for Shopify merchants?
A product waitlist lets customers leave their email or phone number when an item is unavailable. Once your inventory is ready, you can notify everyone who signed up and bring them back to complete the purchase. Here’s why a waitlist is powerful for your Shopify store:
- Capture customer interest: When a customer joins the waitlist, you retain their buying intent instead of losing it due to availability issues.
- Managing customer loyalty: 69% of customers abandon their purchase and turn to a competitor when an item is out of stock. Offering a waitlist keeps them engaged with your store and significantly reduces the risk of losing their loyalty.
- Build urgency and exclusivity: Being added to a list signals early access. This “you’ll hear from us first” experience often drives higher conversion once the item is live again.
- Data-driven demand forecasting: Waitlist numbers tell you what people really want, so you can analyze the demand and make smarter restocking decisions.
How to create a waitlist on Shopify: Step-by-Step guide
Now that you know why a product waitlist can be a game-changer for your Shopify store, let’s discuss how you can set it up step by step.
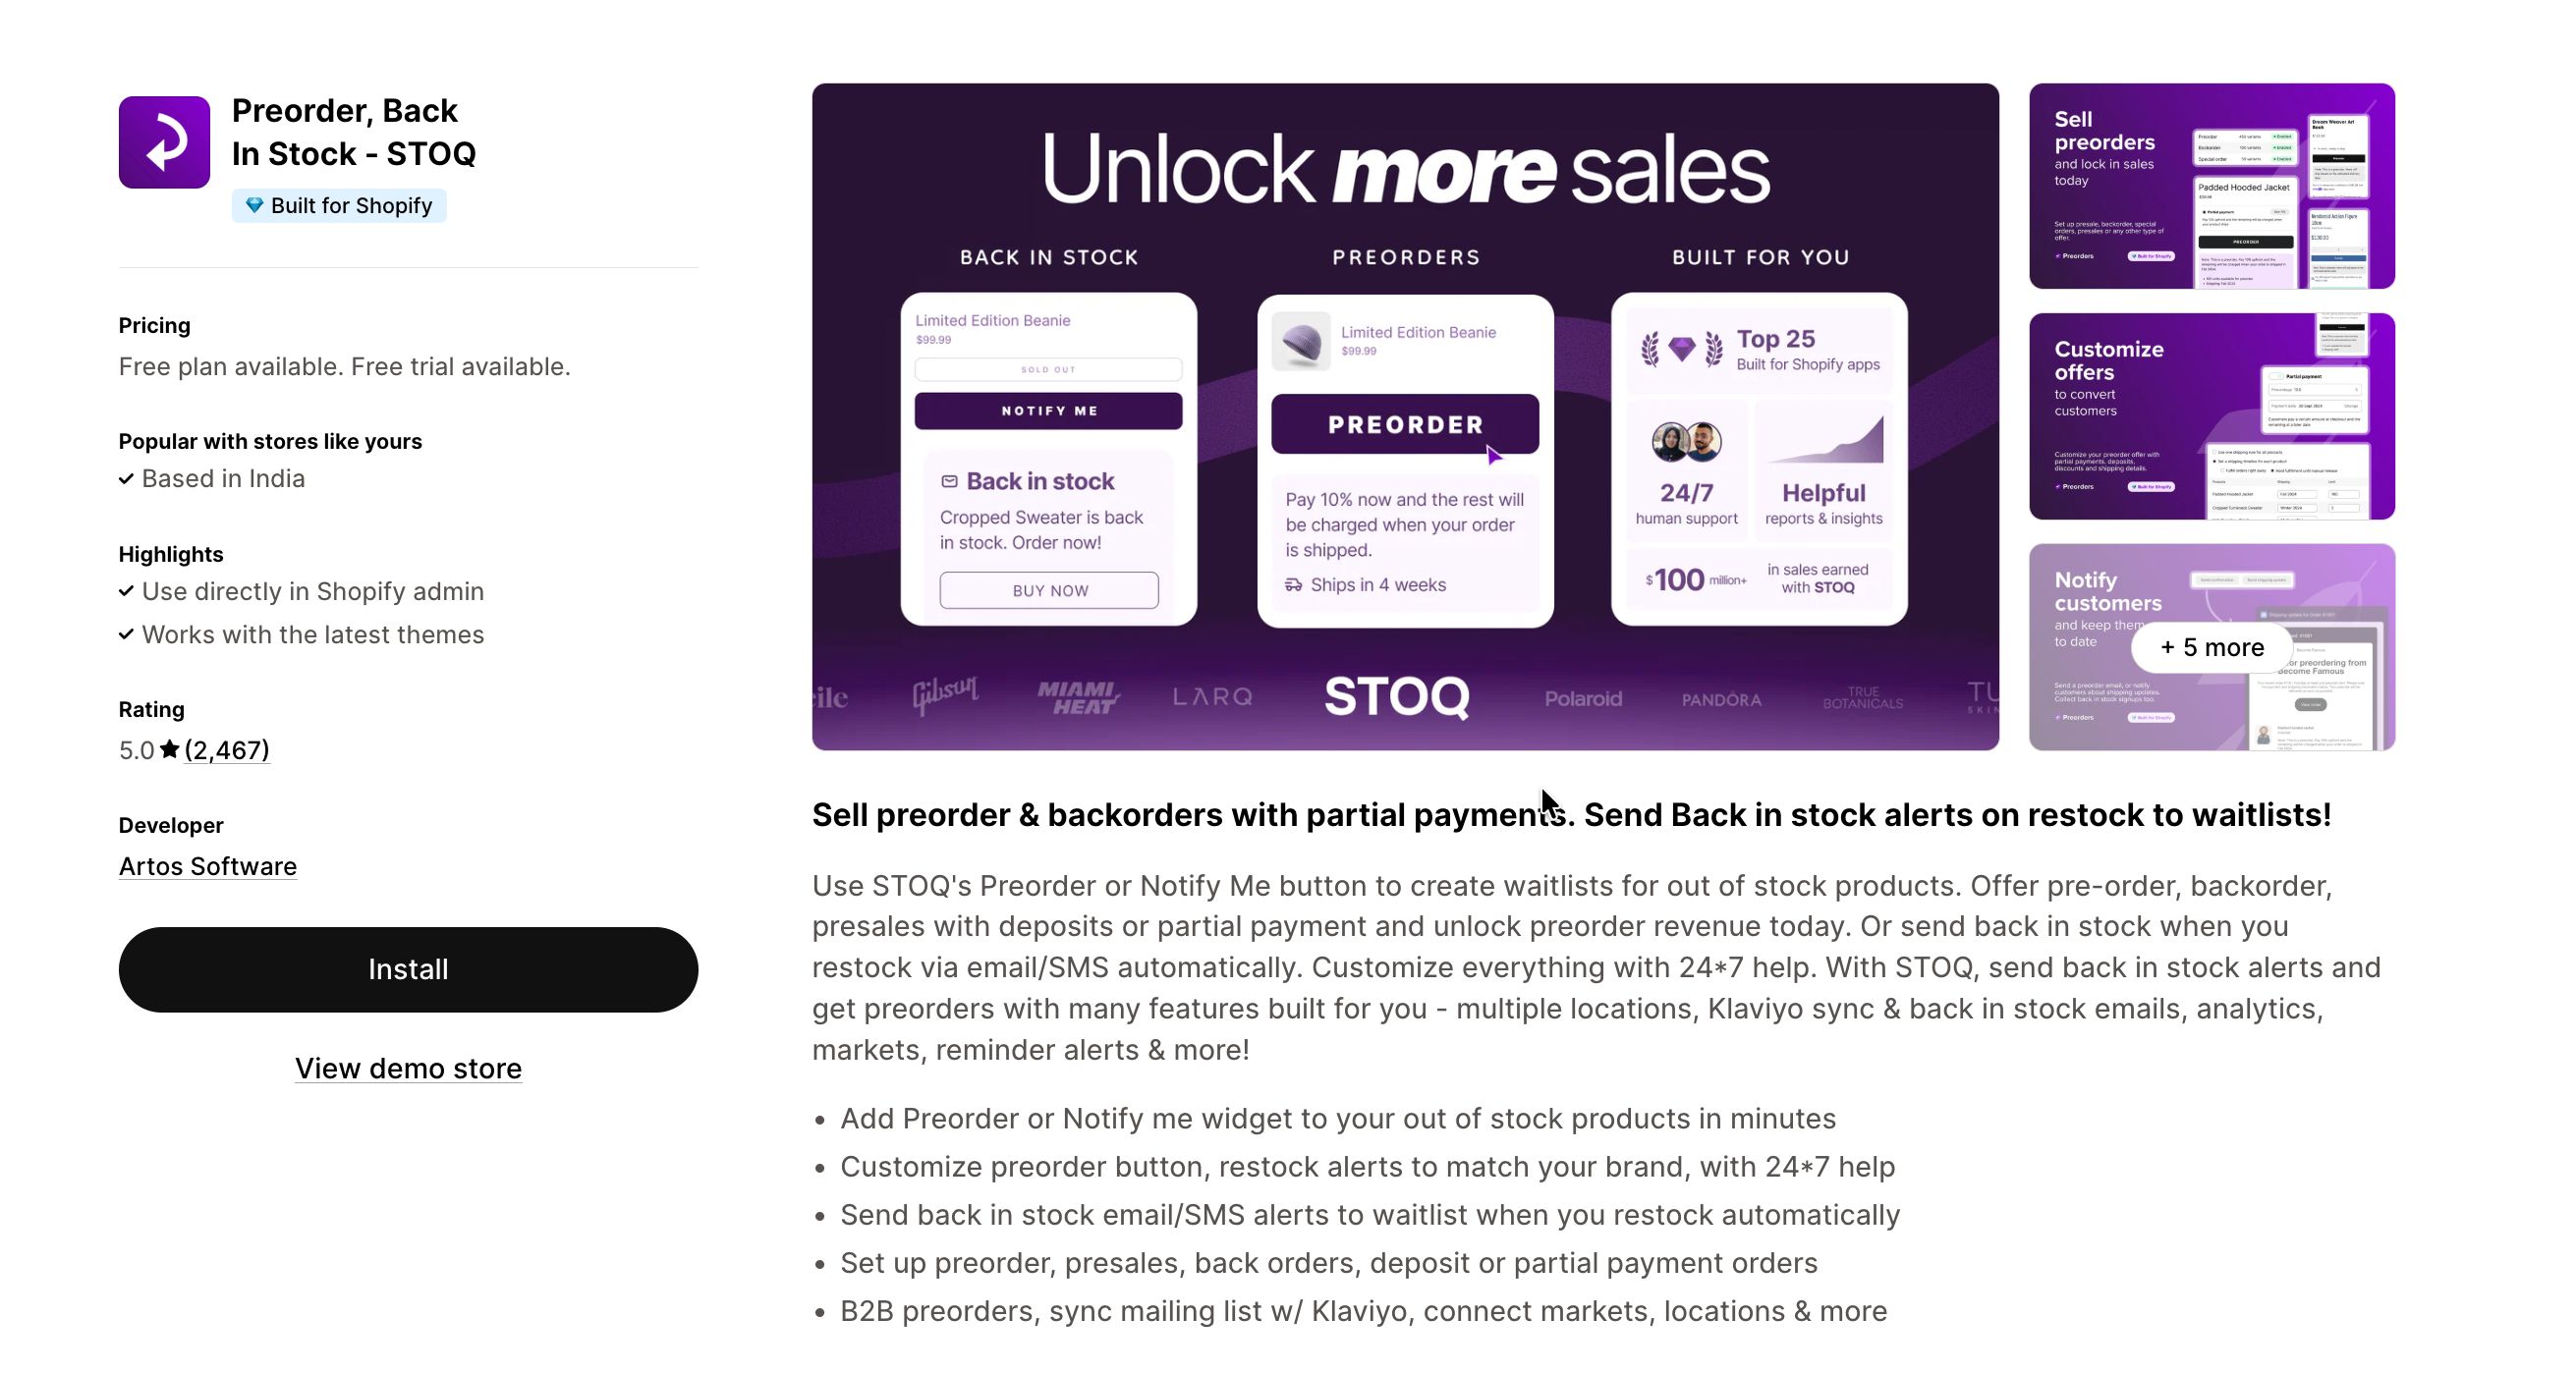
1. Install STOQ app and add it to your Shopify store
You will need a third-party app that supports the waitlist feature to add it to your store. To do so, go to the Shopify App Store and install STOQ.
Once installed, open it from your Shopify admin and grant necessary permissions. Since STOQ is built natively for Shopify, it integrates cleanly with your store and theme.
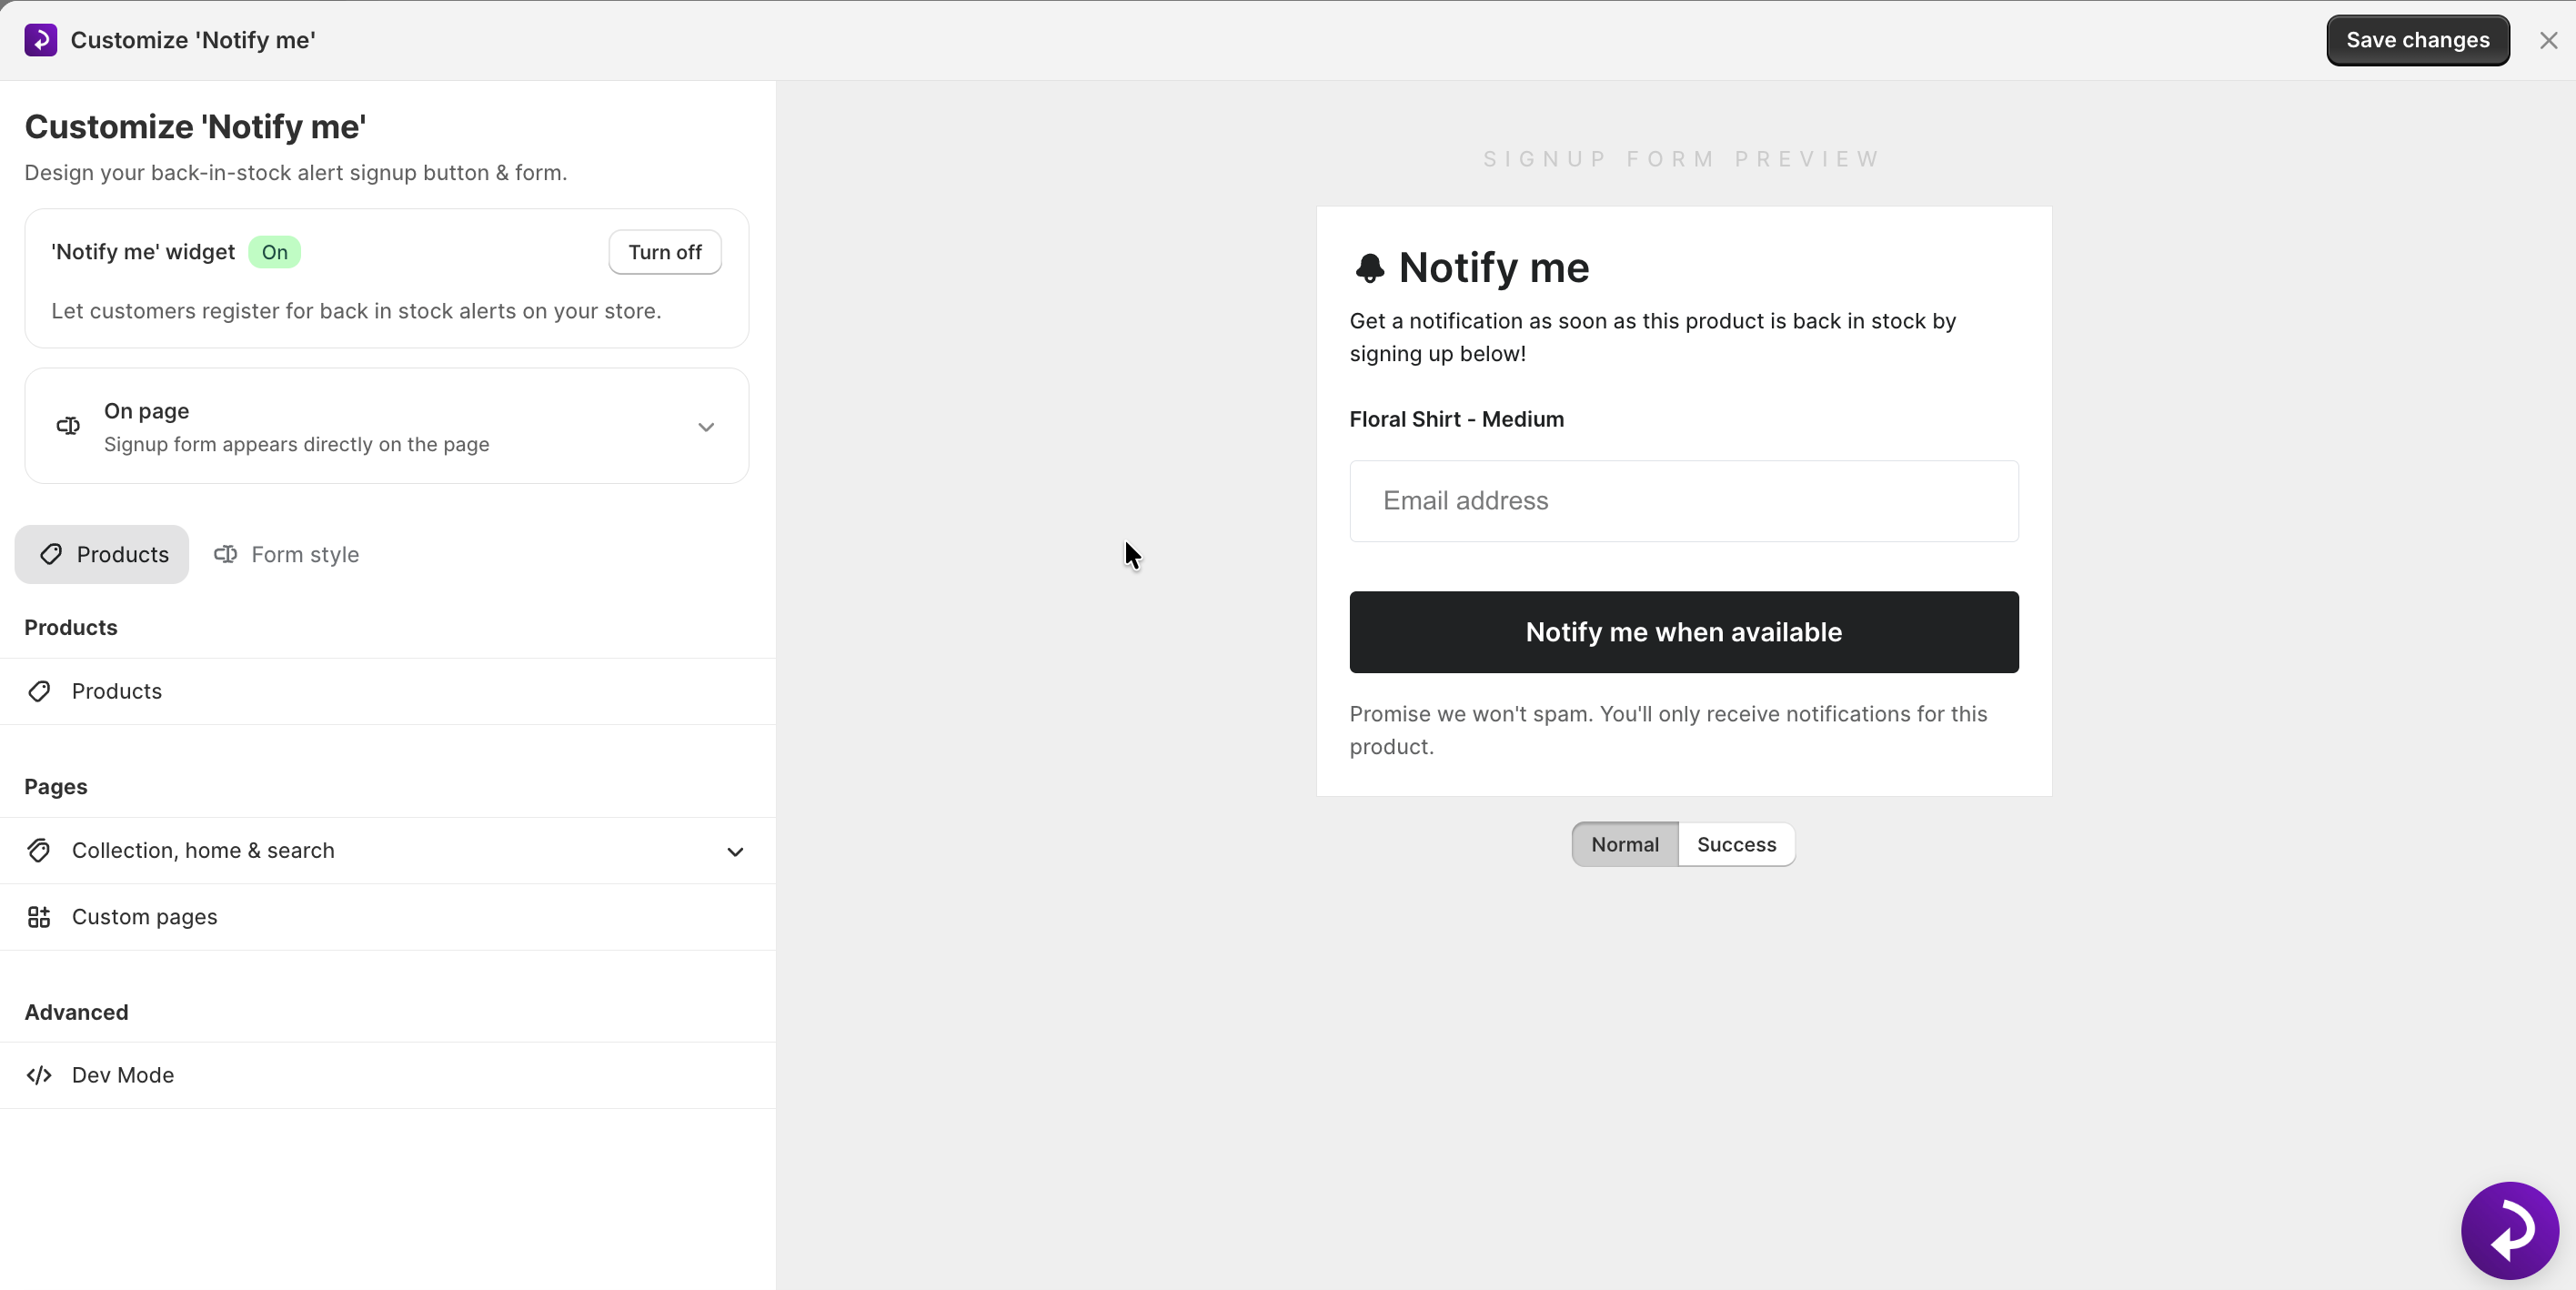
2. Customize your “Notify Me” button
Now, to show the “Notify Me” button on all out-of-stock products:
- Open the left menu bar of the app and click on Back in stock alerts
- Now, under Signup Widget, click on the Customize button
- Under the button tab, click on Products, and choose Show button on all out-of-stock products
You can also find the option to show the button on specific items under Products. You can also add specific tags that automatically tell STOQ to show or hide the “Notify Me” button from certain products.
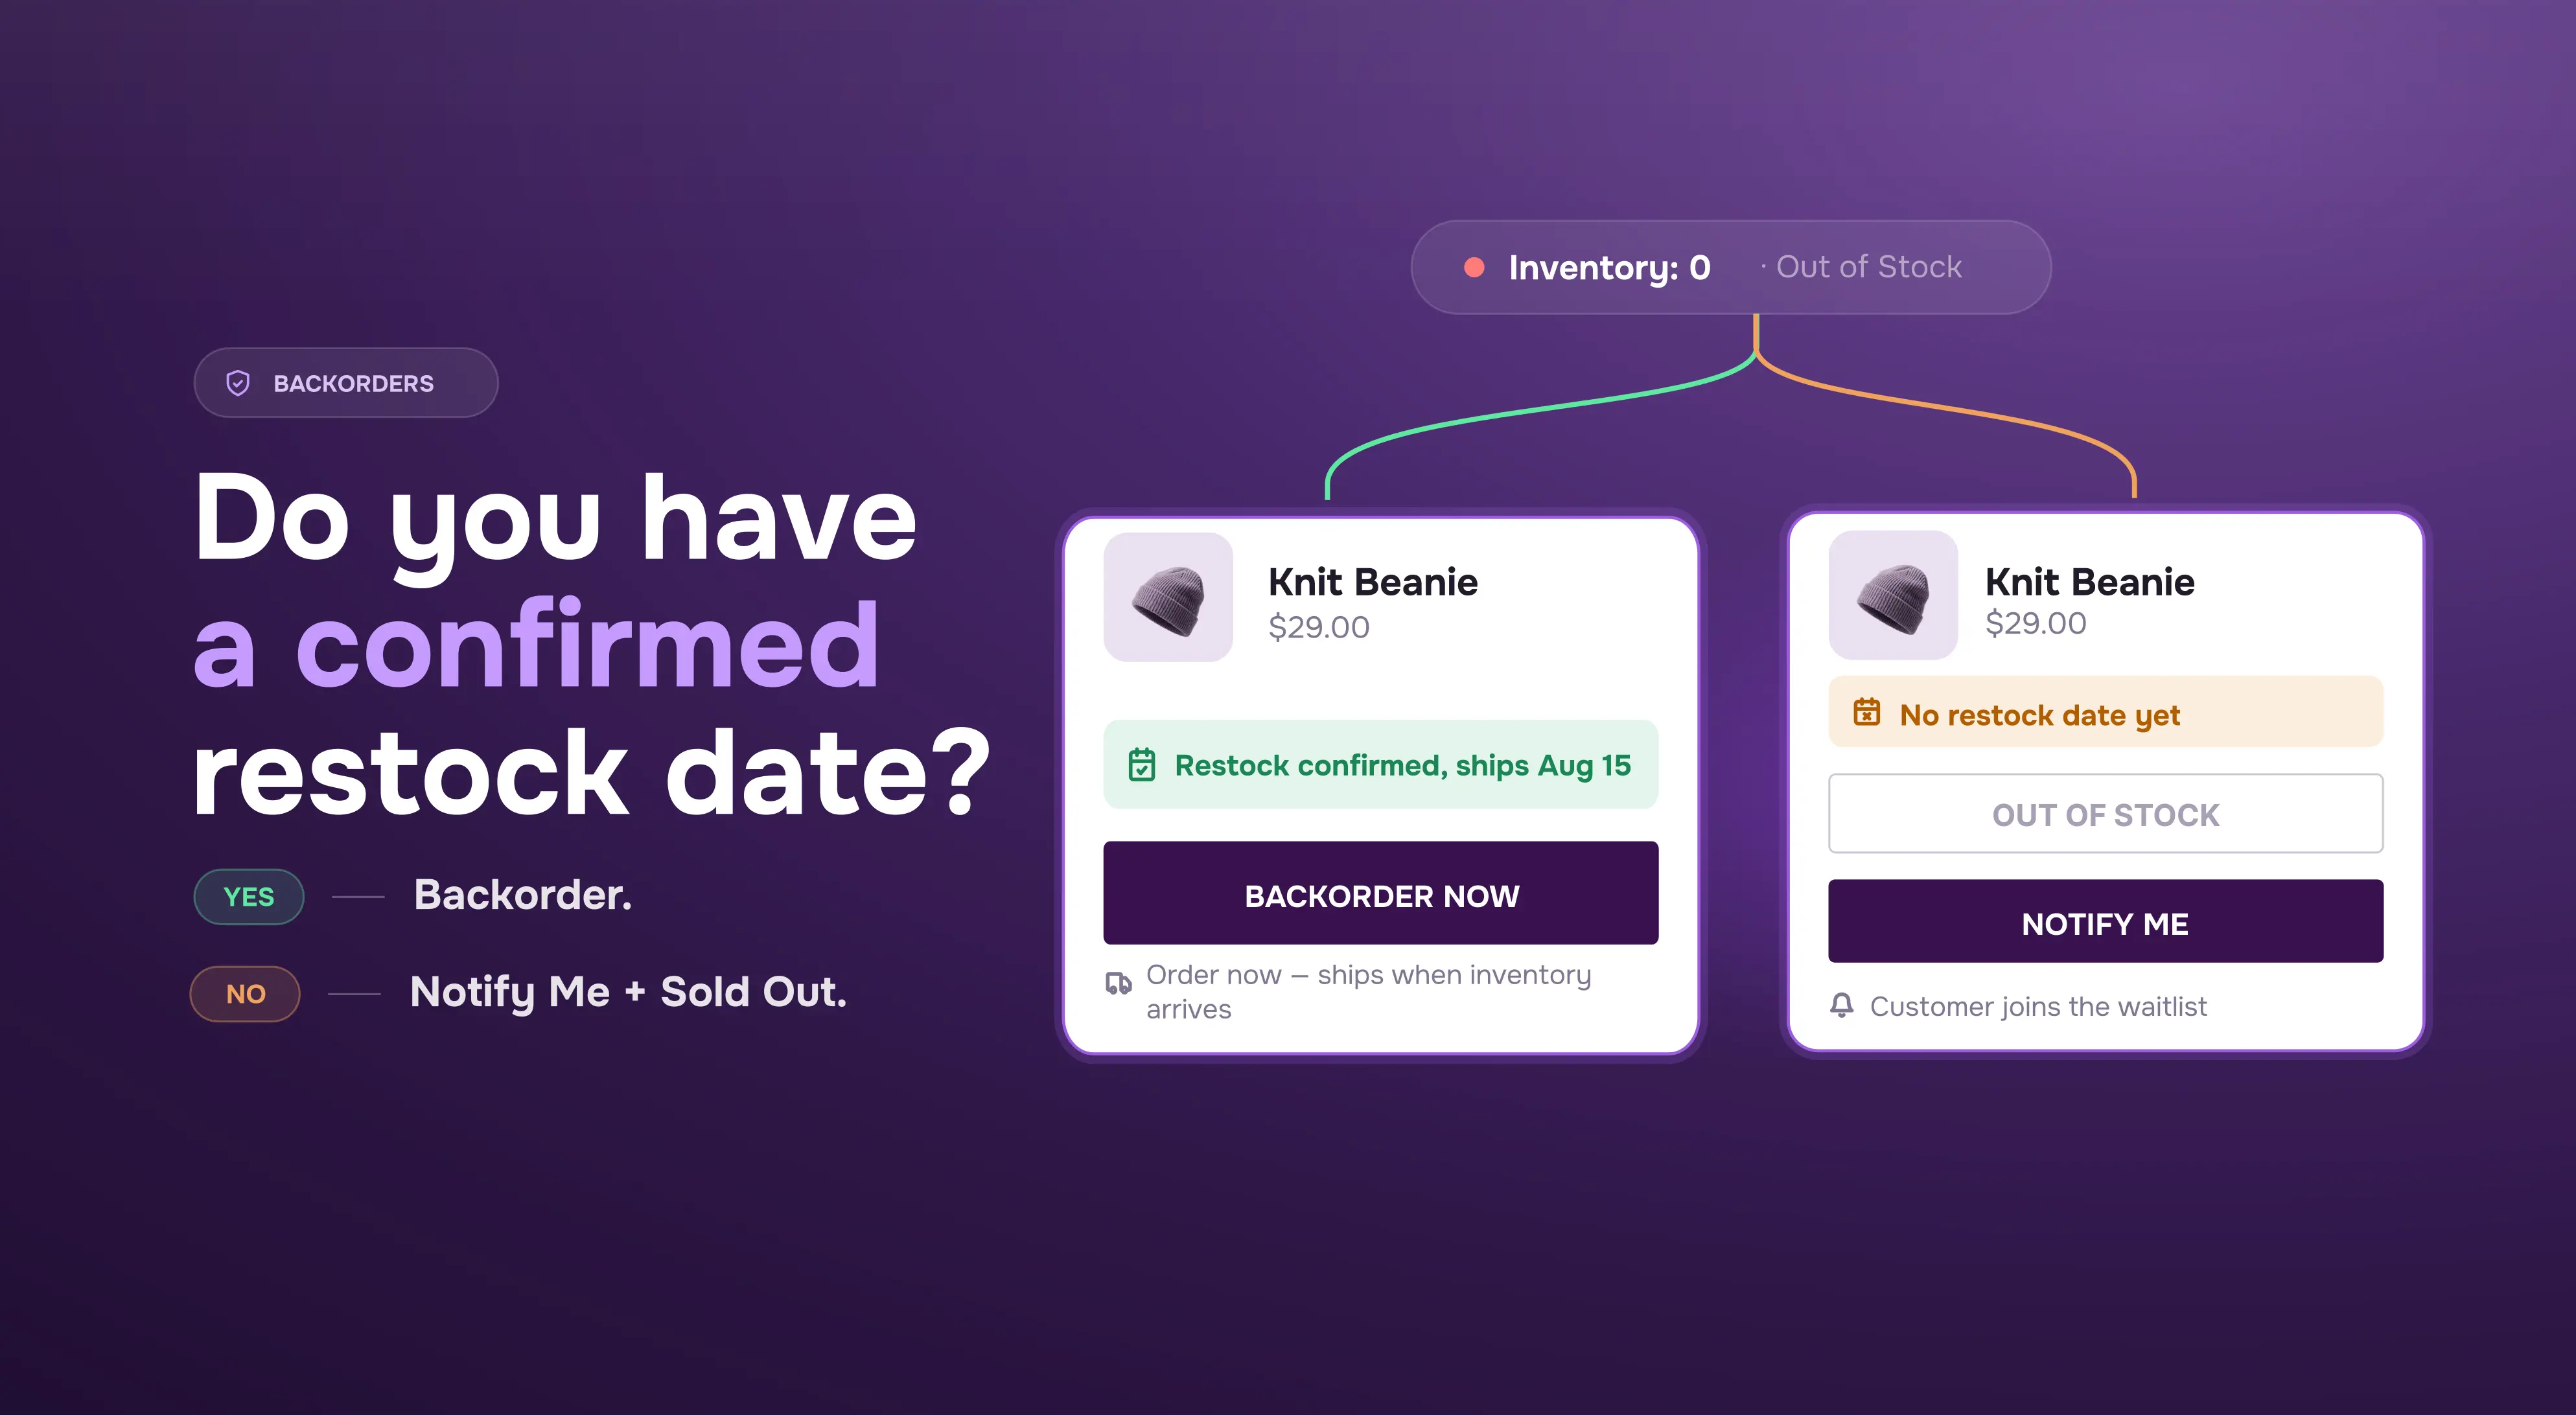
If you want to build a waitlist for your pre-orders, click on Other settings under Products. Then, enable the checkbox Show Notify me button on Pre-order products.
Finally, click Save after selecting your preferences.
3. Set up notification preferences
The next step is to set up email and SMS templates depending on your notification preference. To do this:
- Click on Notifications under Back in stock alerts
- Now, go to Channels in the Notification settings
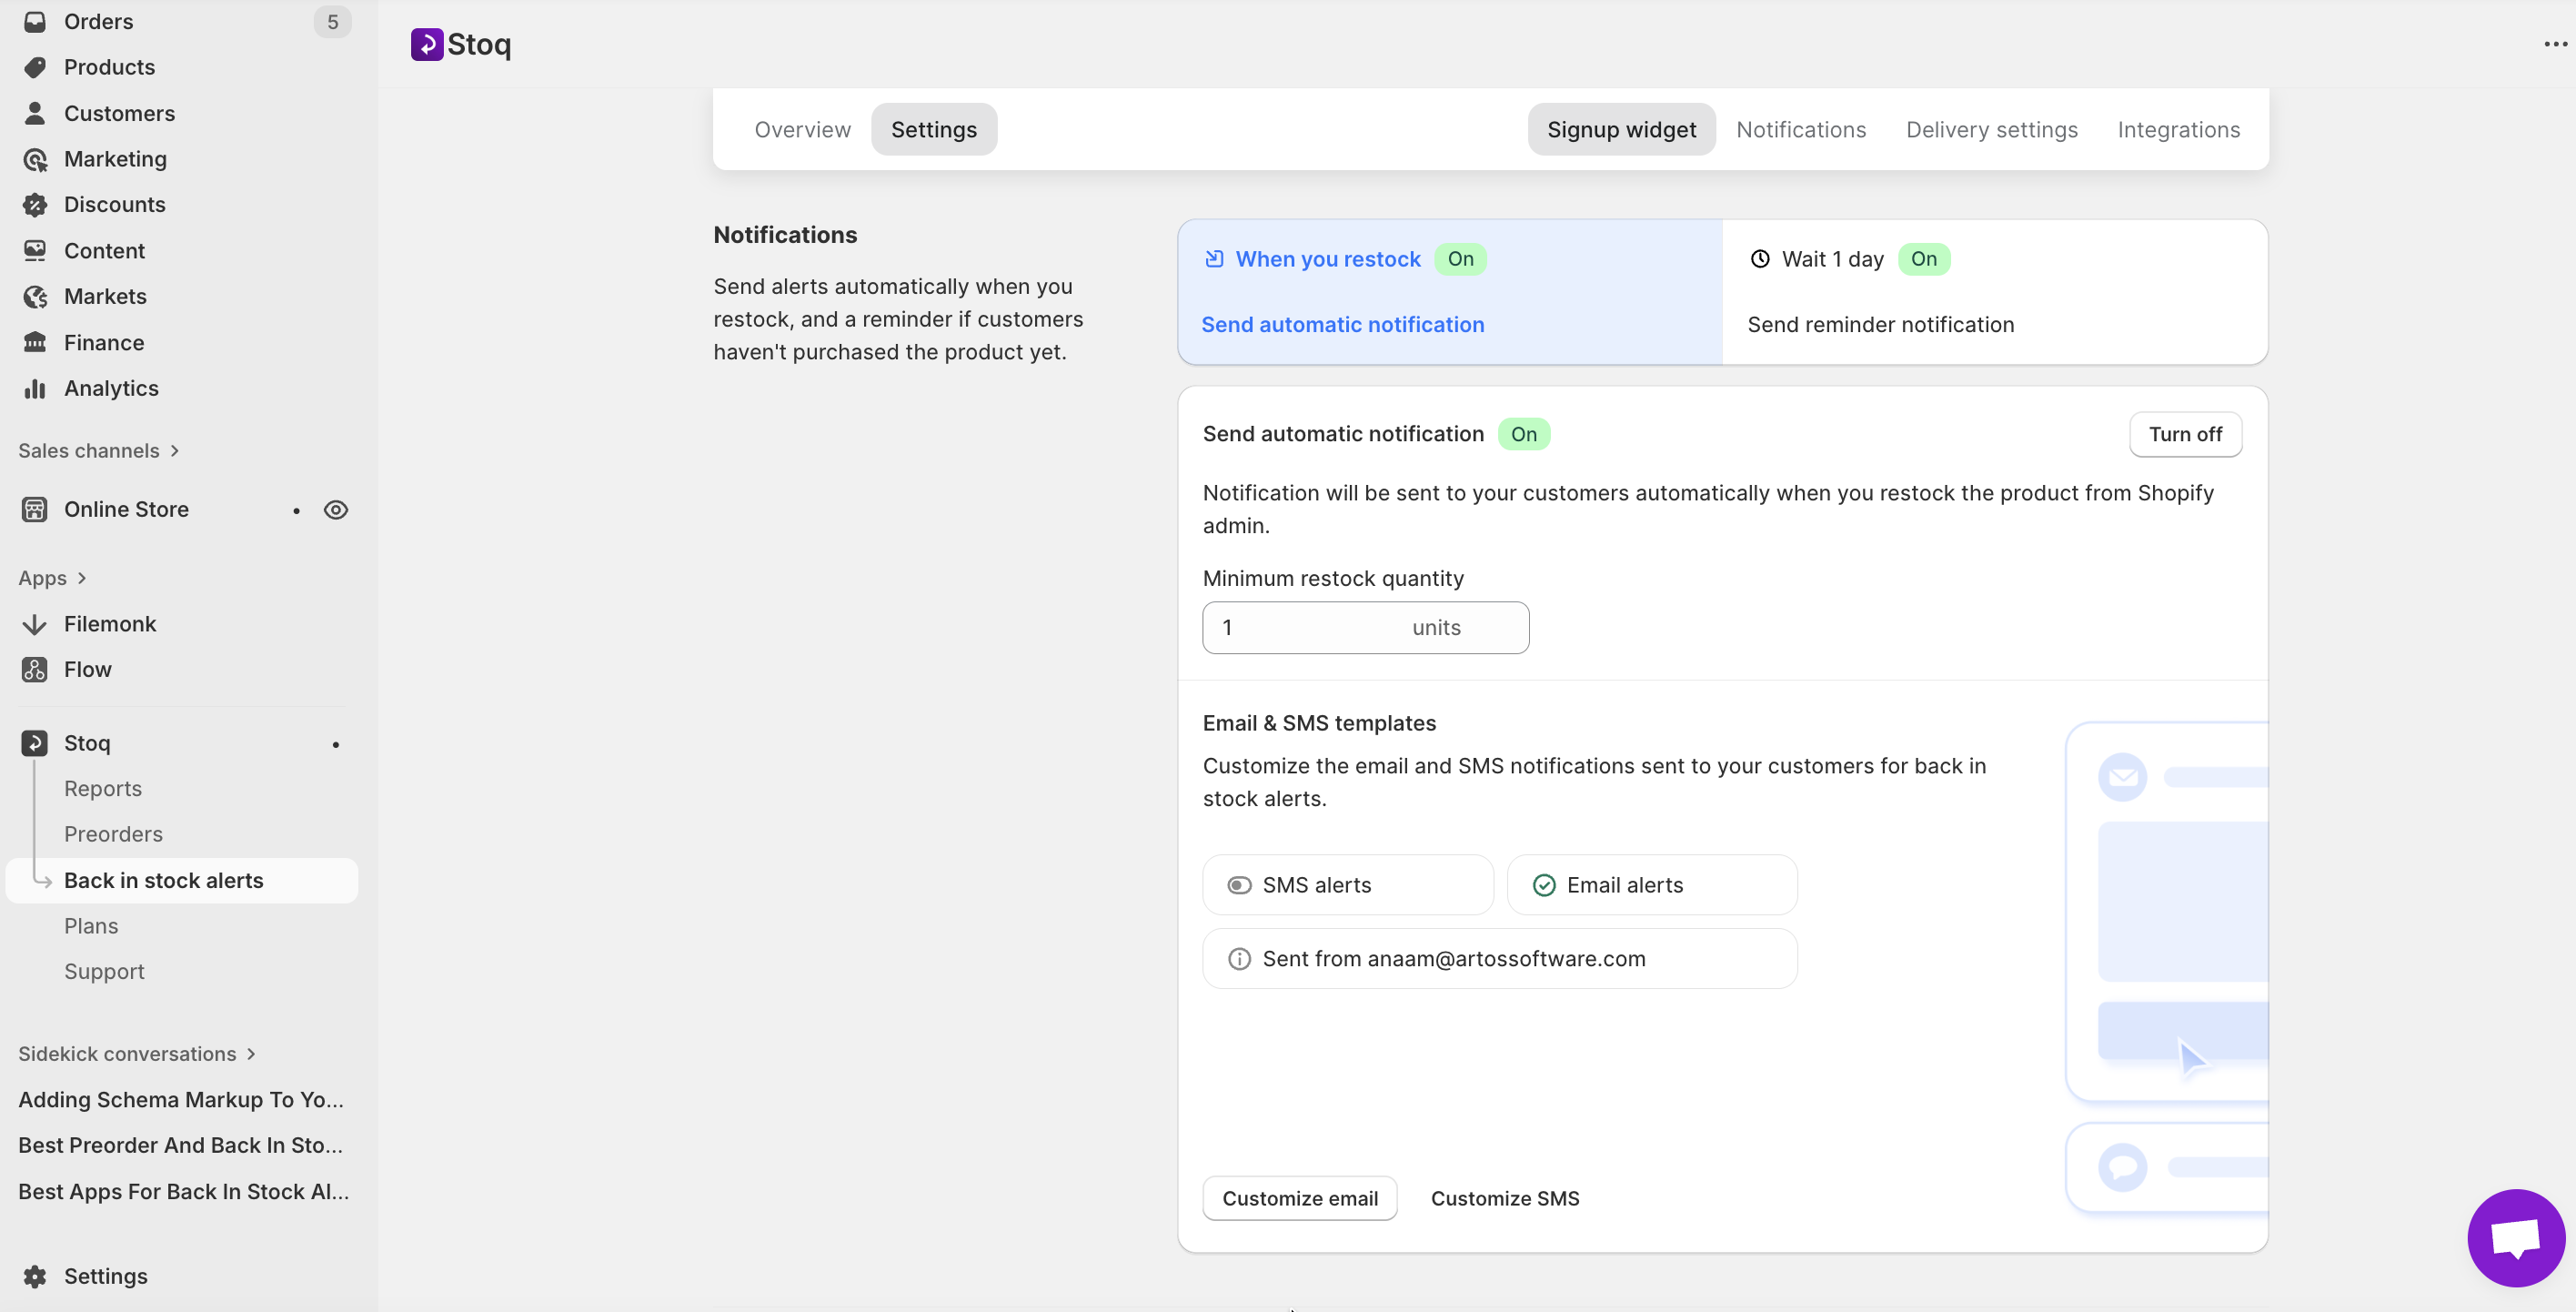
You’ll see options for Email and SMS. Toggle them on/off depending on what you want customers to be able to sign up for.
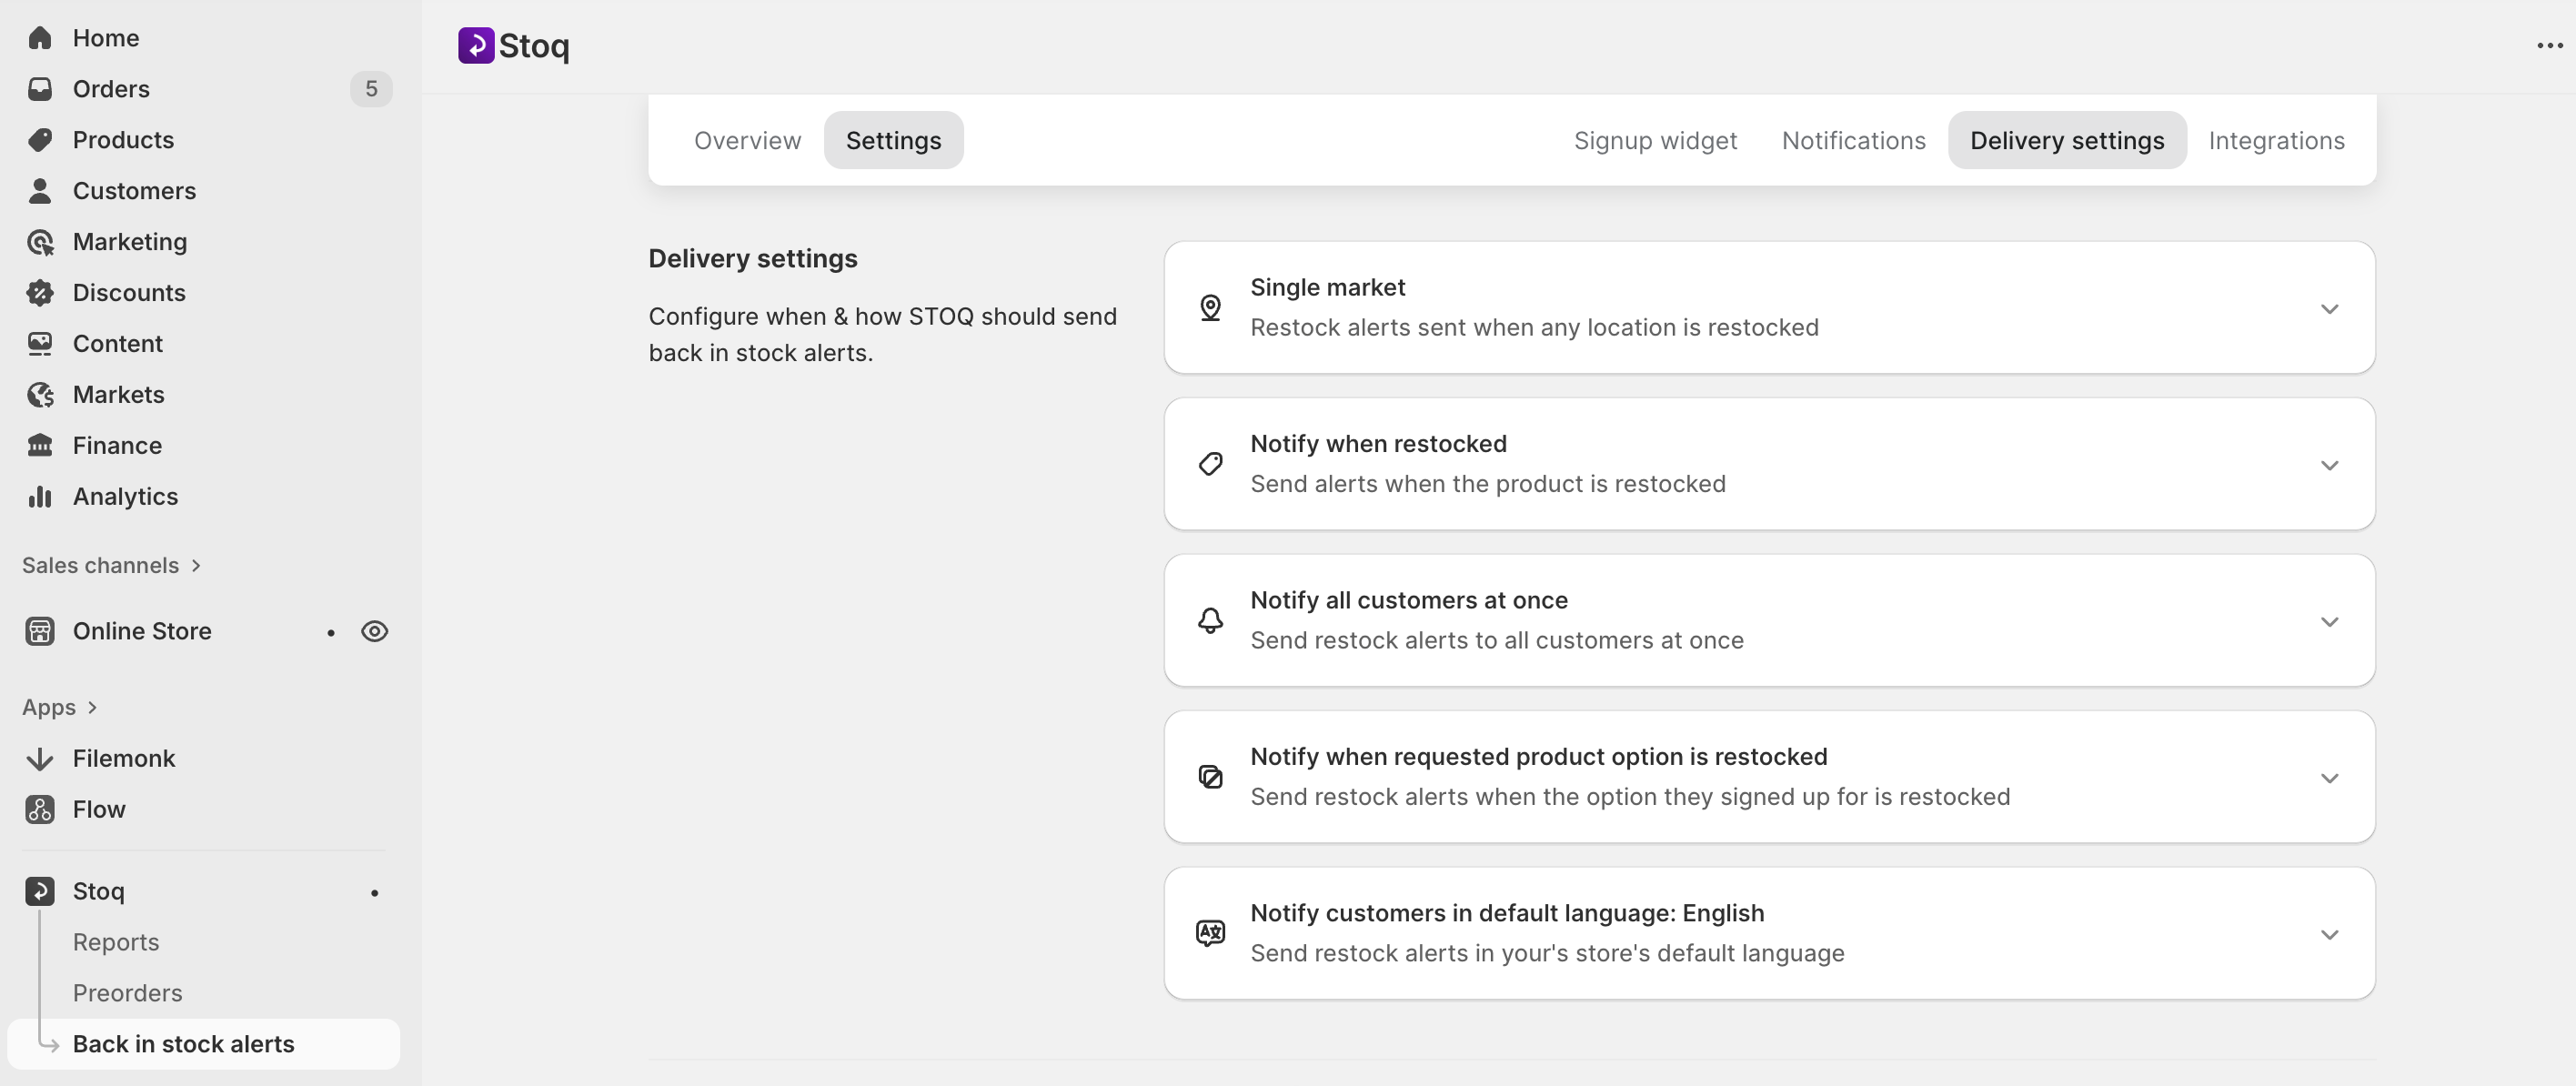
4. Configure delivery settings
Once you have chosen your preferred notification channel, scroll down in the same area to find Customize email and Customize SMS options.
To customize SMS alert message:
- Click Customize SMS, edit the message text, choose where the link in the SMS should redirect (for example, to the product page), and preview how the message will look
- You can also use your branded link (instead of the default STOQ link) that customers will click on for purchase
Once you save your changes, STOQ reviews the template (for compliance with anti-spam rules), which can take up to 24 hours.
To customize your email alerts:
- Click Customize email under Email template
- Edit all the fields, including From address, From name, Subject, Heading, Description, Button appearance, and more
Once done, click on Save.
Also read: How to set up email alerts for out-of-stock products on Shopify
5. Connect STOQ with your marketing platform
To automate the back-in-stock alert workflow, you will need to integrate STOQ with your marketing automation platform (e.g., Klaviyo for email or Restock Rocket for SMS).
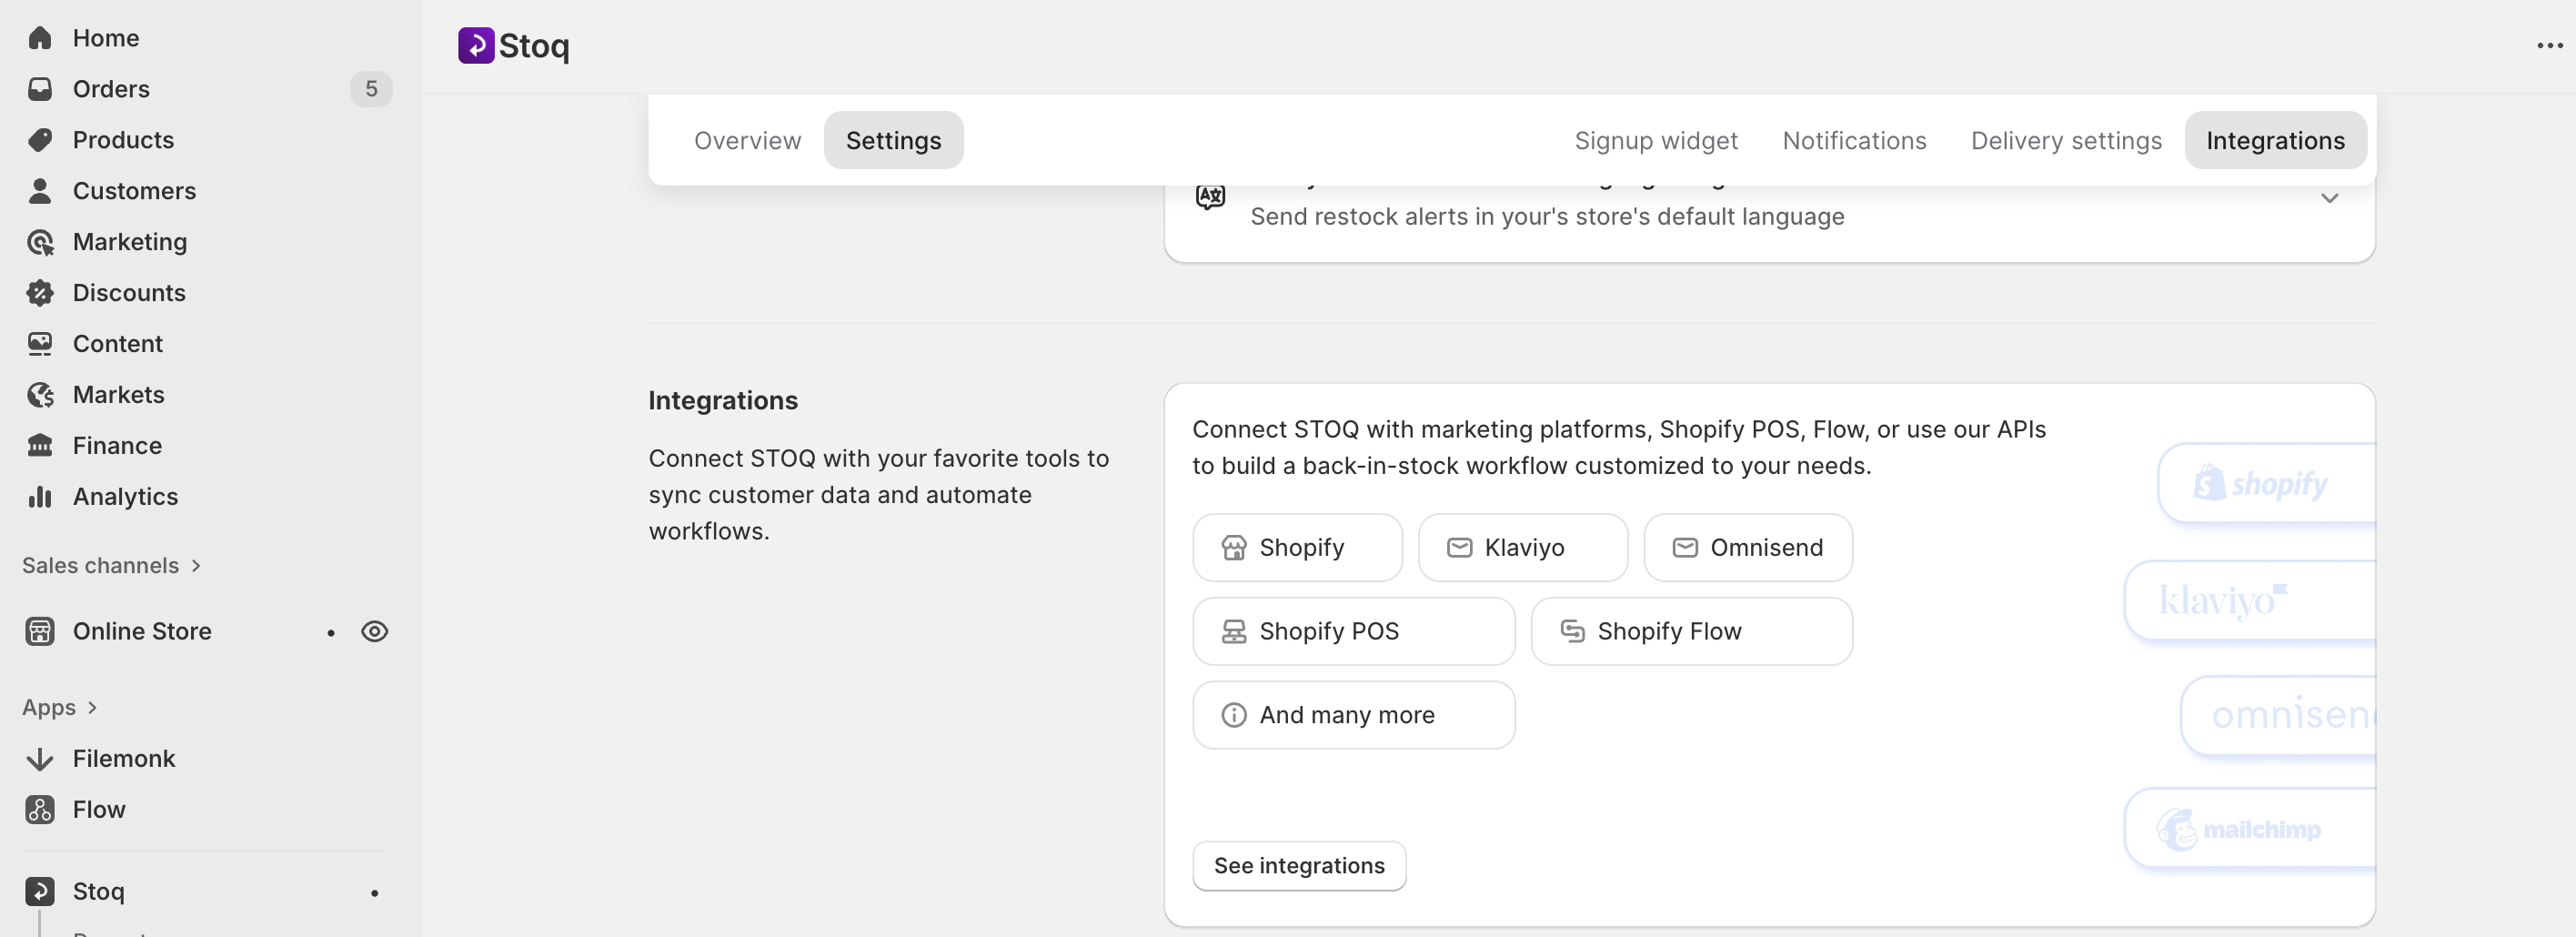
Taking Klaviyo as an example:
- Open the left menu bar of the app and click on Back in stock alerts
- Click Customize email under the notifications tab, then go to Send emails through section
- Select Klaviyo as your email provider and click the Connect button
This will open a new tab to access your Klaviyo account within STOQ. Click on Allow to complete the email automation setup.
You will also need to set triggers that tell the app what notifications to send to your customers and when. For instance, you can set up a trigger for waitlist sign-ups that sends an automated thank-you email.
For a more detailed guide on how to set up STOQ triggers, read our guide here.
6. Test your setup before going live
Make sure to perform a dry run by marking a product as out-of-stock (or using a test variant), sign up for the waitlist as a customer, and then simulate a restock in Shopify.
Also test how STOQ behaves for specific locations (if you have multiple), and ensure batch alerts (if configured) work as intended.
How to get the best out of your Shopify product waitlist
A waitlist works best when treated as more than just a passive alert system. Here are some ways to use it right:
- Keep customers engaged while they wait instead of going completely silent after signups
- Analyze waitlist data using STOQ to predict demand and pre-plan your inventory
- Sync your waitlist email addresses with your other email marketing efforts to push other products
- Offer pre-order access and limited-time discounts to turn anticipation into conversion
Why STOQ is your best partner for Shopify product waitlists
A waitlist keeps interested customers from slipping away when a product isn’t available. STOQ makes managing these waitlists easy by:
- Letting you add the “Notify Me” button
- Automatically collecting sign-ups
- Sending back-in-stock alerts via email or SMS
The app also offers plenty of customization, so customers are notified exactly the way you intend. Plus, our advanced analytics help you plan inventory more confidently and turn stockouts into new sales.
Want to build waitlists with STOQ? We’ve just launched our V3 update. Try it for free and see how it can level up your Shopify store.

Anaam heads Merchant Success at Artos Software, working with Shopify merchants to help them unlock the full potential of STOQ and our other apps.
.webp)